Pages

Thursday, September 29, 2016

Crafting with Grandchildren

Welcome

This is an unexpected post - my grand daughter wanted to make a birthday card for her cousin, and she wanted to make it 'with Mama in her studio'!!  
Mama being a bit apprehensive to really let her loose, used the dining room table instead, with limited supplies!


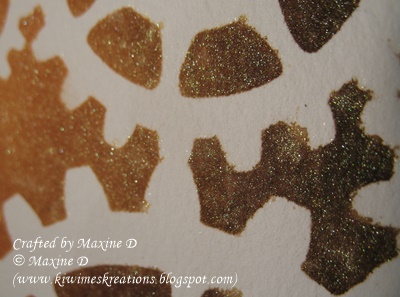
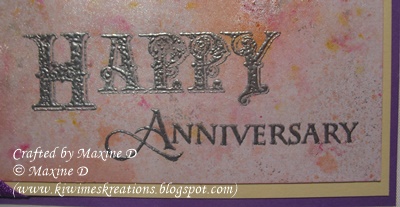
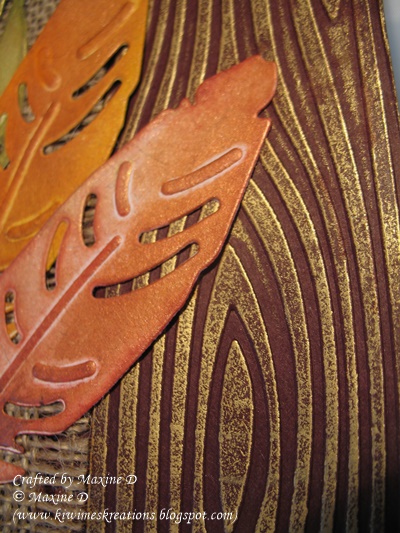
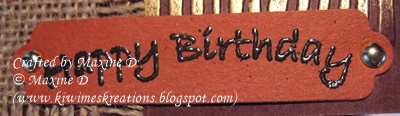
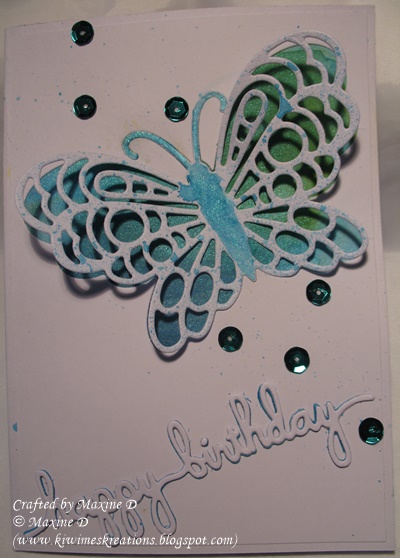
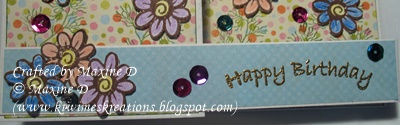
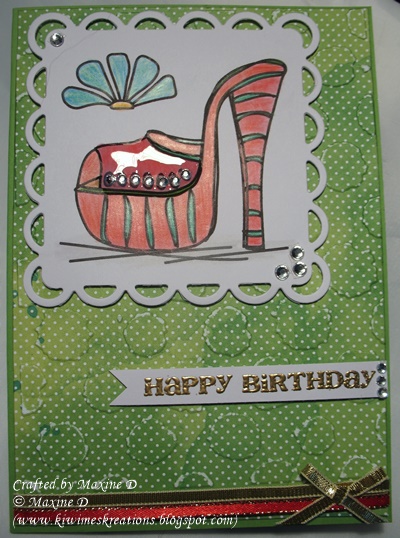
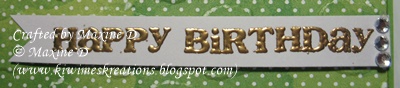
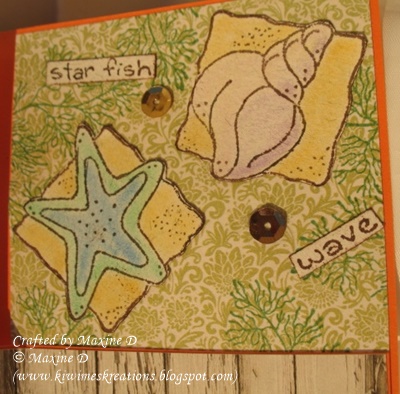
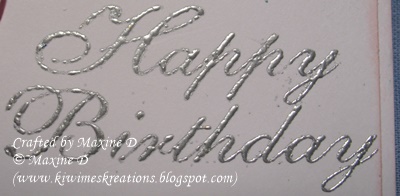
Firstly she stamped some small flowers randomly around the card in red and orange ink, then coloured them.  She then helped to stamp the greeting, and eagerly watched the embossing process, before colouring the letters.  Next we worked some magic on the cuttlebug, hard work for one barely six and a half, but she persisted!!

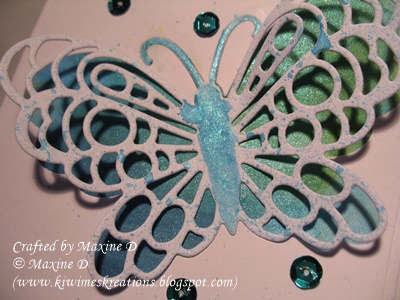
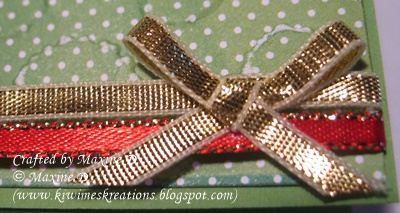
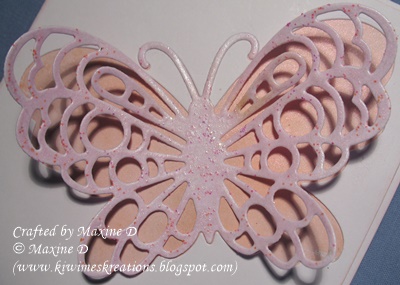
Some washi tape, some rhinestones and a butterfly and the card was complete, and she was very happy with the results!!


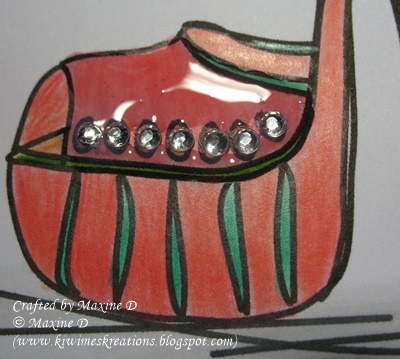
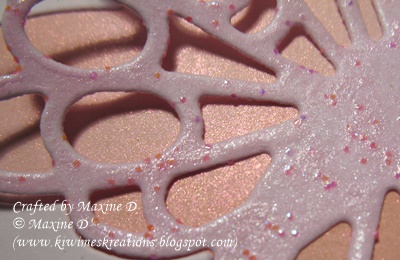
Here is a close up - I love her use of colour!!


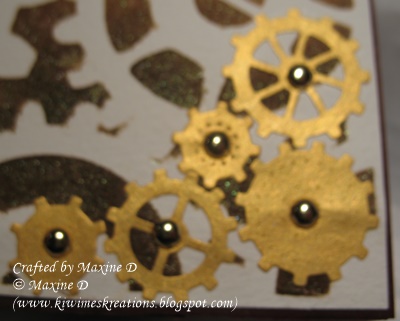
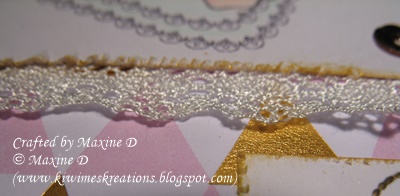
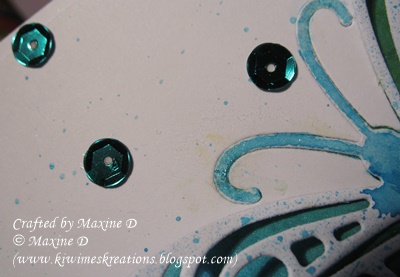
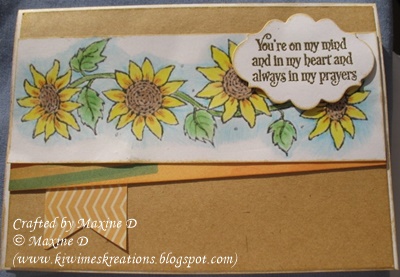
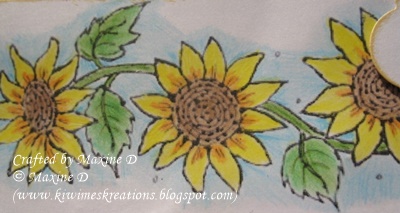
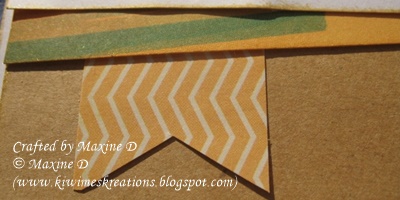
Needless to say her younger brother wanted to be in on the action.  I had stamped a card ready for him, then he wanted a butterfly, sentiment, embossing, rhinestones (the hub caps) and washi tape....
The butterfly is under his hand, and the washi tape, added after the photo, is two narrow strips of bright green on the left hand side.


Exit two happy children :-)  
I can see more mornings like this coming up!!

Thank you for visiting my blog - may your day be blessed
Any comments you may leave are deeply appreciated
All comments are moderated and spam deleted.

Wednesday, September 28, 2016

Gears, Glimmer and Gold...

Welcome

Finally the curved balls in my life are starting to straighten up - please excuse me if I have not commented on your blogs recently, life was just too fraught.

I needed a masculine card, and know that the recipient is a very CAS type of person, so this is the result, which was appreciated.


I taped a stencil  over some white card and sponged it with Tea Dye and Walnit Stain Distress Inks.


Before I removed the stencil I sprayed it with a silver glimmer mist (which shows yellow here)


The stenciled layer was mounted onto a Cranberry base, and a snippet used to make the embossed sentiment banner.


The final detail was to attach some gold cog wheel die cuts, left over from another project.  Despite what the camera says, all the brads used were gold!!

I am linking this to:


thank you for taking the time to visit my blog - may your day be blessed
Any comments you may leave are deeply appreciated
All comments are moderated and spam deleted.

Monday, September 26, 2016

NBUS Hearts Anniversary

 Welcome

Life has thrown me a curve ball these past few days and I am not impressed.  This will be a quick post as I have limited time.


I started this card by dropping some Lindy's Stamp Gang powders onto my water colour paper, then sprayed them with water.


The mica in the powders, and then in the spray I used over them again, gave the background an amazing gleam IRL


After drying this panel, I then used Versamark ink and sponged it through a stencil before embossing it in silver EP


I stamped and silver embossed the sentiment - and using the MISTI meant that when the first try was not as good as I would have liked it, I could repeat and get  the required result.


I layered the initial panel over a cream one, added the silver and purple ribbons, tied a double bow and added it with a glue dot, then layered them all onto the purple base.

I am linking this to:


Thank you for taking the time to visit my blog - may your day be blessed
Any comments you may leave are deeply appreciated
All comments are moderated and spam deleted

Friday, September 23, 2016

Glowing Leaves on Burlap

Welcome

This is a card that came together with only a vague idea of what I wanted to do, and it basically made itself - love that!!


I started with the decision to use an infrequently used feather die, which I decided to use as a leaf instead, and some burlap against the dark brown card.  Decided it was too bland, so added the embossing, and lightly rubbed over some Inka Gold gold rub.


After cutting the three feathers I then started sponging with some distress inks, then rubbing more Inka Gold rubs over top, sometimes adding more ink... all very random, until I liked what I saw!! 


The final detail was the sentiment, which is actually embossed in Rich Green (after unsuccessfully trying Gold) then cut with a S/B tag die and attached with gold brads.


The end product is a decidedly masculine card, which is what I wanted.

I am linking this to:

(Inspired by the flowing leaves and mettalic cololurs in Carol Nelson's piece)

Thank you for taking the time to visit my blog - May your day be blessed
Any comments you may leave are deeply appreciated
All comments are moderated and spam deleted.

Wednesday, September 21, 2016

Birthday Cup of Tea and a Challenge

Welcome

I have a slew of cards that I need over the next couple of months, so I will be sharing them quite regularly for a while.


The card started as a challenge I set to my class, to select a piece of patterned paper, lace and thread to match (from a limited selection) and they were given the image to colour and some white card as a base.


The image is a digi by Happileigh Stamping, a freebie I got some years ago.  I coloured it using Prismcolor pencils, distressed the panel edges and sponged them with gold ink.


The sentiment was gold embossed, and the edges treated the same way, the edges of the base card were sponged with Spun Sugar DI.


I used the lace as a strip under the edge of both the panels.

To finish the card I added some varigated thread, a bow, and gold sequins


The trimmings from the patterned paper I added to the inside of the card.

I am linking this to:


Thank you for visiting my blog - may your day be blessed
Any comments you may leave are deeply appreciated
All comments are moderated and spam deleted.

Monday, September 19, 2016

Here Comes Another One...

Welcome

I don't usually make two of any sort of card, but here is another negative/positive die cut butterfly card similar to the one I posted a few days ago.  


I started by spraying the area under the where the butterfly would sit with some Lindy's Stamp Gang spray, sponging on some distress inks and then spraying again - the variation and gleam can be seen in this photo.


I sprayed the butterfly with the same blue, and after partially re-inserting it, painted the body and antennae with the spray.


I then took a very fine paintbrush and splattered some ink on the background and added some sequins, and there it sat for some days.... unfinished and not sure where to go.


Inspiration then struck and I added a die cut sentiment by layering two die cuts in blue card under a white layer - this gave the sentiment some interest without it dominating the card.


Thank you for taking the time to visit my blog - may your day be blessed
Any comments you may leave are deeply appreciated
All comments are moderated and spam deleted.

Saturday, September 17, 2016

Weed-free Flowers (for a Gardener)

Welcome

I have made another Double Z fold card, this time as a card for a keen gardener.


The patterned paper was double sided from an old pad by Authentic.


Again I used the seaweed stamp in the background, but this time it was as leaves for the flowers.


The flowers were stamped with one of my original stamp sets by Hero Arts - long since discontinued - stamped in Espresso Ink and coloured with prismacolor pencils, fussy cut and mounted on foam dots.


Another one of my original stamps, the sentiment is from Kiwistamping and embossed in gold.


The addition of the sequins was the final touch.

I am linking this to:

Thank you for taking the time to visit my blog - may your day be blessed
Any comments that you may leave are deeply appreciated
All comments are moderated and spam deleted.

Thursday, September 15, 2016

Shirley's Shoe

Welcome

I had fun with this card - the shoe is a stamp by Shirley Bampton, originally manufactured and distributed as part of a set, Groovy Platform Shoes by STAMPplorations, and then this particular image was a giveaway with Craft Stamper magazine. 


After printing, I coloured the shoe and flower with prismacolor pencils, and then cut it using a S/B die, Lacey Squares, and added some rhinestones to two corners.


I added glossy accents to the top of the shoe, and some clear rhinestones to finish the image.


The sentiment was stamped, embossed, clear rhinestones added to a hand cut fishtail banner cut, and then it was mounted with foam tape.


A couple of ribbons and a bow finished the the layers on top of the embossed and sanded patterned paper, which was then layered onto green cardstock.

I am linking this to:


Thank you for taking the time to visit my blog - may your day be blessed
Any comments you make are deeply appreciated
All comments are moderated and spam deleted.

Monday, September 12, 2016

Sea Shells and Sequins

Welcome

I have been wanting to try out the Double Z Fold card that I first saw on Meena's blog, and this is the result.


I started with the orange base card, stamped some seaweed on the trimmed patterned paper from the Kaiser Craft pad, Botanica.


I then stamped the images using just one large stamp from Kiwistamping, and cutting it up and using the images I wanted, after colouring them with chalks.


The sentiment was silver embossed, die cut and mounted on a silver die cut doily, then attached to the end of the small panel across the base.


Some sequins from a mix of gold, copper and bronze finished the card.
\
I am linking this to:
I did not use the twist of Fall colours)

Thank you for taking the time to visit my blog - may your day be blessed
Any comments you may leave are deeply appreciated
All comments are moderated and spam deleted.


Saturday, September 10, 2016

Autumn in Spring

Welcome

Here in the antipodes we are looking forward to spring, although winter is 'packing a paddy' and trying to stay put at the moment.


I found this sunflower panel on Pinterest as a printable, (and no matter how hard I have searched cannot find the origin of it to give credit to the artist)so printed it off as I wanted to use it on an encouragement card for a lover of sunflowers - her favoured colours are the autumnal tones too.


The sentiment was stamped, ( An ODBD stamp), gold embossed and die cut.


I coloured the image with prismcolor pencils and then blended with a cotton bud (Q Tip) and baby oil - the first time I have done this, and I was very happy with the results.


I was following a sketch and these are the two other elements - the banner was hand cut from a snippet, and all elements were mounted onto a kraft base, and all edges sponged with Delicata Gold ink.

I am linking this to:
(I was inspired by the sunflowers)


Thank you for taking the time to visit my blog - may your day be blessed
Any comments you may leave are deeply appreciated
All comments are moderated and spam deleted.

Thursday, September 8, 2016

Positive and Negative Butterfly

Welcome

I have a relative who loves butterflies on her cards, so this is her card for this year.


The butterfly die is a Marianne Creations one that I have had for many years. After cutting it out, I painted it with Tattered Angels Glam Glitter Paint in Heffalump.


Underneath the top layer I had sprayed a generous layer of Lindy Stamp Gang Starburst Cosmopolitan Pink, spreading it with a brush to get some good coverage, then spraying again.


The above photo gives some idea of the glitter and sparkle on this feature.


The sentiment (from Montarga) was silver embossed, and the edges of the base and top layers were all sponged lightly with Spun Sugar DI.
The final detail was to scatter some silver sequins over the card.

I am linking this to:


(mine is a Marianne Creatibles Die)

Thank you for taking the time to visit my blog - may your day be blessed
Any comments you may leave are deeply appreciated
All comments are moderated and spam deleted.